
1. Audio Feedback loop
Audio feedback is the ringing noise (squealing, screeching) present in sound systems. It is caused by a “looped signal”, i.e., a signal which travels in a continuous loop and leading to the audio level reaching maximal level. This can cause serious damage to the auditory system, or even lead to temporary or PERMANENT HEARING LOSS.
Feedback might be heard from speakers with one or more of the following conditions:
- The speakers are close to the microphone
- The speaker volume is turned up so as the microphone hears the speakers
- The microphone’s sensitivity is high
- Turning on the mixer without turning the volume and faders down.
To eliminate feedback, the feedback loop has to be interrupted.
Suggestions:
- Always start the fader at and make gradual adjustments until the desired volume has been reached. NEVER start at maximum level AT ALL TIMES.
- Change the position of the microphone and speaker so that the speaker output isn’t feeding directly into the mic.
- Speak too close to the microphone.
- Turn the microphone off when not in use.
- Lower the speaker output, so the mic doesn’t pick it up.
- Avoid aiming speakers directly at reflective surfaces.
- Use direct injection feeds instead of microphones for musical instruments.
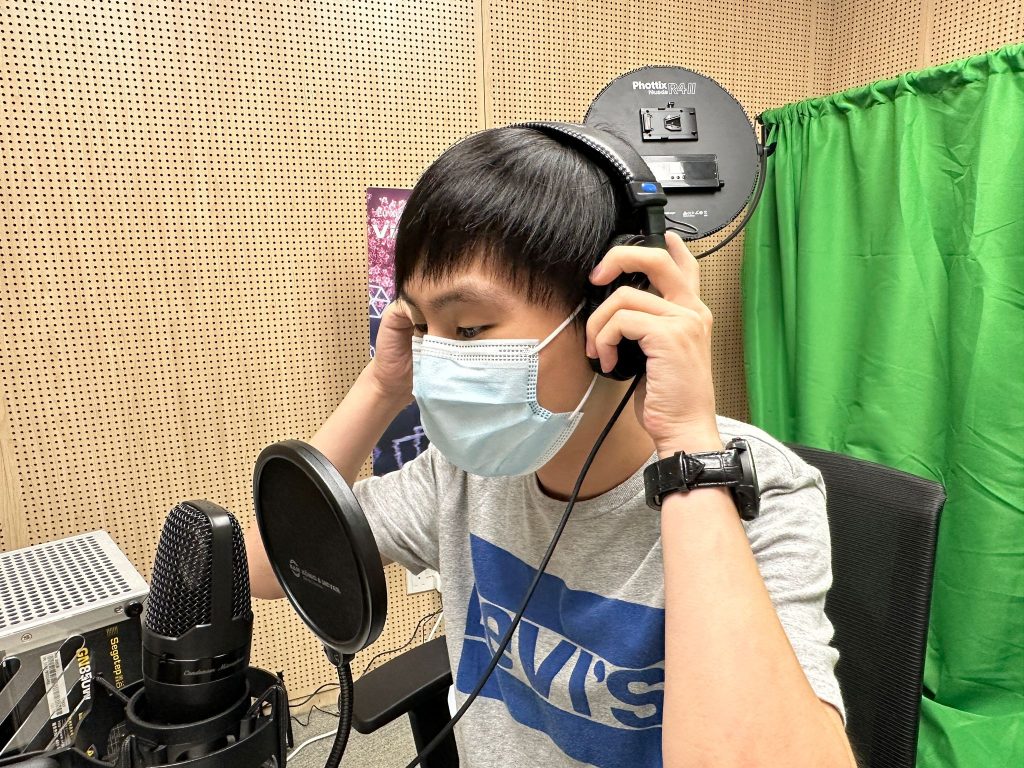
- Use headset or in-ear monitors instead of speaker monitors.
2. Eyesight Damage
The LED light panel is able to emit strong light and might be able to damage one’s eyesight if under prolonged period of direct exposure. It can cause eye strain or eye floaters if not handled with care.

Suggestions
- Avoid direct line of sight to the LED panel under high brightness level settings.
- If direct line of sight is unavoidable, reduce the brightness of the LED panel and take a short break regularly (i.e. 15 to 20 mins).
3. Others
- Do not rewire any hardware connections or make unauthorized changes to the control room computer unless instructed or approved by supervising staff.
- Pay attention to the surrounds when navigating around the podcast studio and avoid tripping wires and cause injuries.

↓

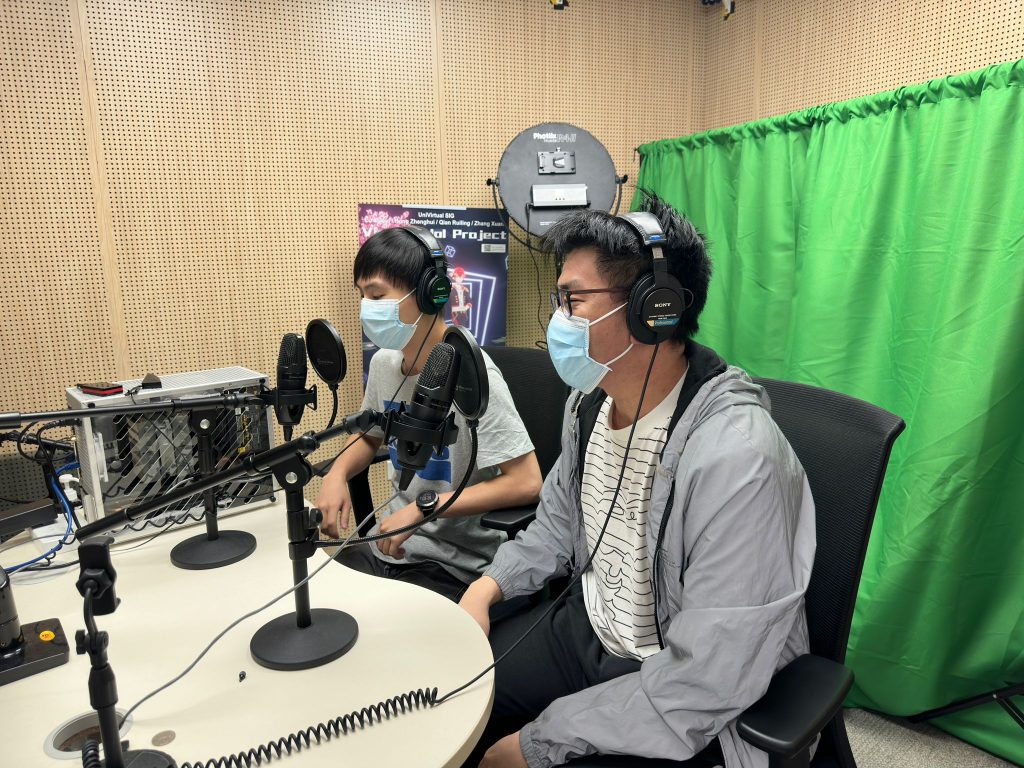
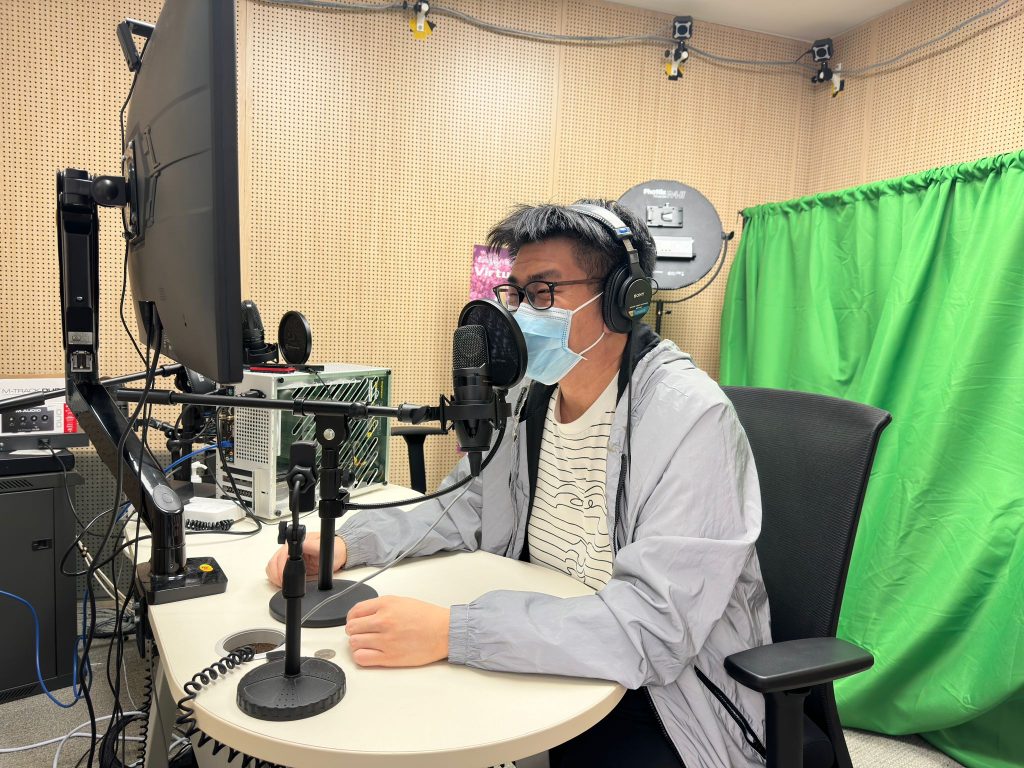

Studio Microphone (Shure PGA27) with Pop Screen
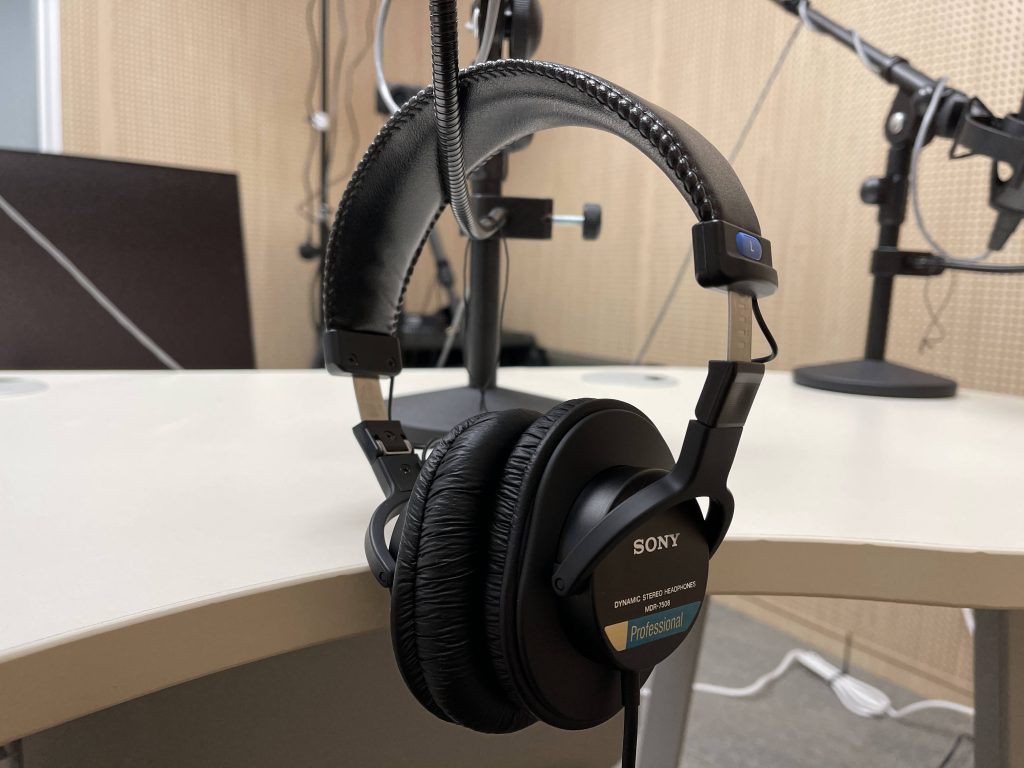
Studio Headphones (Sony MDR-7506)

Headphone Mix (Behringer HA8000) (Top) and DI Box (Behringer DI800) (Bottom)

Studio Speaker (IK Multimedia iLoud MTM)

Sony ZV-E10 with SIGMA FA 18-50 F2.8 Lens

Studio Monitor (ThinkVision T23i-20 23″)

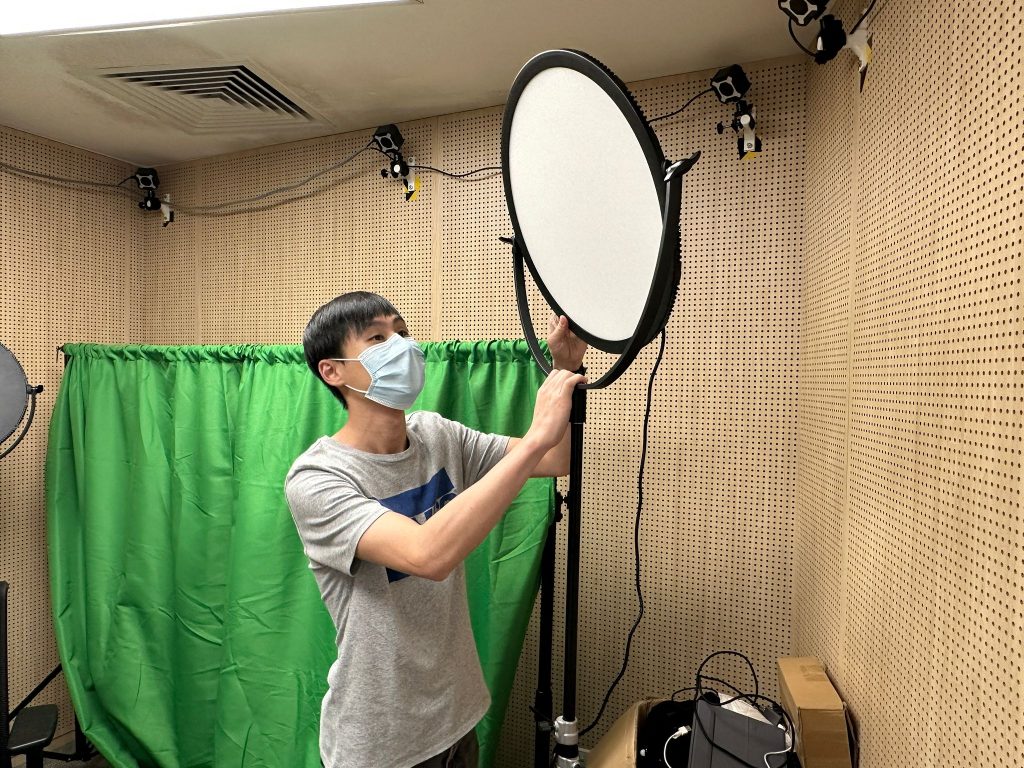
LED Light Panel (Phottix Nuada R3)

Camera (Canon M200)

Elgato Stream Deck
Please note that for most of the shootings parameters which we will go through in the following session has no definitive solution. They are all up to the each individual’s artistic sense. Please feel free to try experimenting with different settings and parameters. The following guide will only provide a sample setup and a general direction of how you can setup the shooting environment. The steps which you may try to experiment with with be marked with a “Try it Yourself” tag.
Camera Setup:
Step 1: Locate the dummy battery at the bottom of the computer. Ensure the dummy battery cable is properly connected to a USB power outlet.

Dummy Battery for Canon M200 – LP-E12 Dummy Battery (Photo Credits: Photo4Easy@Amazon)
Step 2: Make sure the USB connection cable is properly connected to the extension cable which is connected to the control room computer.

Canon M200 USB Connection Port (Photo Credits: www.kentfaith.com)
Step 3: Power On the camera. Make sure it has been switched to video shooting mode.

Canon M200 Top Panel with Scene Intelligent Auto (Auto+) selected (Photo Credits: www.kentfaith.com)
Step 3 (Try it Yourself): Adjust the exposure settings. By default, the exposure level should be set to +-0. Adjust according to your personal preference.
Effects of different Exposure Settings (Photo Credits: https://hk.canon)
Step 4 (Try it Yourself): Adjust the white balance settings. By default, the white balance settings should be set to AWB (Auto White Balance). Adjust accord to your personal preference. These settings should be adjusted together with the color temperature setting of the video light. If you would like to learn more about white balance you can check out the link below: https://expertphotography.com/4-steps-to-understanding-white-balance/.
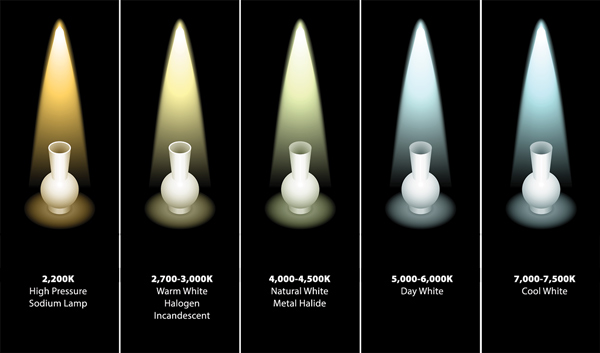
Effects of different Whit Balance Settings (Photo Credits: https://photographypro.com)
Step 5 (Try it Yourself): Adjust the shooting angle of the camera according to your personal preference.

(Photo Credits: https://www.cined.com/8-cinematography-tips-making-interview)
Lighting Setup:
Step 1: Make sure the video lights are connected to the power outlet properly and switch on the light panel to AC power mode.

Step 2 (Try it Yourself): Settings Adjustment. Adjust the angle, brightness, and color temperature of the LED light panel. Before we present a sample setup, there are two videos which explain a few basic concepts of lighting:
Three-Point Lighting by DiCasaFilm: https://www.youtube.com/watch?v=j_Sov3xmgwg
Hard and Soft Light by Curtis Judd: https://www.youtube.com/watch?v=cSyG-RhZrMU
The sample light setup is as follows:

The LED light panel on the left is the key light, while the LED light panel on the right is the fill light.
The brightness and color temperature settings can be adjusted by pressing the corresponding button and turning the dial on the right side of the control panel. Sample settings for each light are as follows:
Key Light: 100%, 5000K

Fill Light: 65%, 500K


Audio Mixer (Zoom LiveTrak L-12)

Control Room Computer (Dell OptiPlex 7080) with Control Room Speaker (IK Multimedia iLoud MTM)

Control Room Microphone
Control Room Headphone (Sony MDR-7506)
3.1 Display Settings
For this tutorial, we will set the content display of the studio monitor to mirror directly from the control room computer. This is to mimic the case where the host would like to have a live monitor for his/her performance.
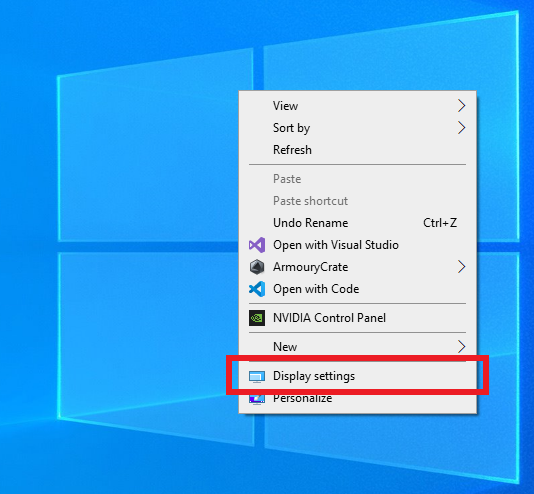
Step 1: Navigate to “Display Settings” by right-clicking on your desktop or by other ways you prefer.
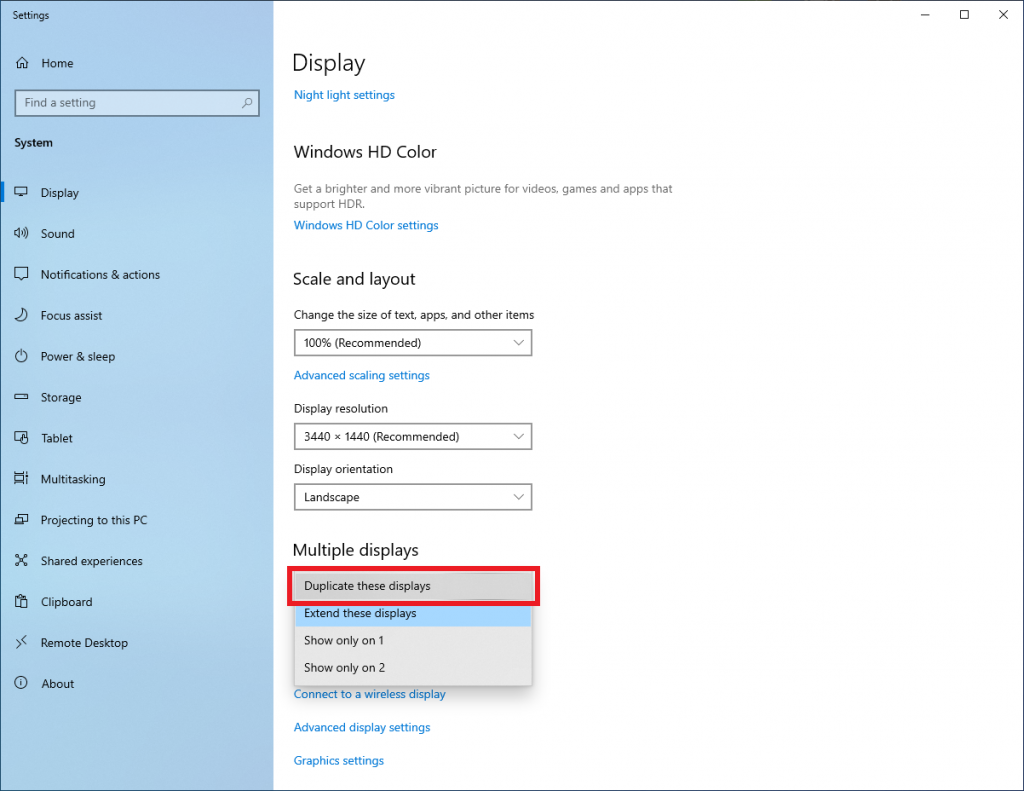
Step 2: Under the “Display” tab, choose “Duplicate these displays” under the “Multiple Displays” item. If the second display is not showing here please make sure the studio monitor is connected to the computer is connected to the control room computer properly and is turned on. Confirm the studio monitor is display the same content as the control room computer monitor.
The following are a few possible use cases and are briefly discussed as follows:
– The host provided some multimedia files like PowerPoint or videos for display during the session. This settings require an extended desktop with the multimedia content showing on the extended desktop.
– The host bring in his/her laptop and would like to show the content on his/her laptop on the studio monitor via an HDMI connection. This setting requires HDMI signal capturing and passthrough.
– The host bring in his/her laptop or mobile device and would like to show the content on his/her laptop or mobile device via a wireless connection. This setting require setting up an NDI/Airplay/Miracast signal capturing on the control room computer.
Here is the basic introduction of the hardware and software.
3.1Mixer tutorial
By default, the mixer should have all levels set to -∞ and level for all the monitor device output knob should be set at 0.

Step 1: Find a video/audio source from online (i.e. YouTube). Play the source so you will have an audio stream to reference from when adjust the mixer. Make sure the audio output device has been set to Zoom L-12 and the volume output is unmuted.
Step 2: For this tutorial, we will be using control speakers and studio speakers for audio monitoring. Adjust the output knob for each device to around 4 or 5. Also make sure the push button under each output device knob is at high level (i.e. it’s outputting audio from the master channel). Mast

Step 3: Make sure you are using the “Master” fader mode. (as indicated by the red arrow on the right). This is to ensure you are adjusting the volume for the master channel. Adjust the slider for channel 9/10 (PC Audio Output) to the level as indicated by the picture below. You should see the volume indicator adjusting accordingly when you move the slider. If the indicator is not lit check your video/audio source.

Step 4: Adjust the master slider gradually. NEVER make drastic adjustments. Make sure all the output devices listed in Step 2 can hear the audio component of the video/audio source. Adjust the output volume for each output device from the output device knob if necessary.

3.2 Open Broadcast Studio (OBS)
OBS is a free and open-source software for video recording and live-streaming. It has the ability to mix different audio visual sources into a live video production environment.

3.2.1 Output Option 1: Record Locally
The video will be recorded to the user’s video folder (“Videos”) by default.
If you would like to change the output path, navigate to “Output” tab in “Settings”, and modify the designated path. This step is not compulsory.


3.3.5 Integration with Zoom or other Conferencing Applications
Other than recording local video files or performing online streaming, this podcast studio can also be used for video conferencing with very little addition setup! This result can be achieved by redirecting the same video output stream used for recording and streaming to a local, simulated virtual “camera”, which can then be used by the conferencing applications as a video input source. The following section depict the steps required for setting up OBS to be used with any conferencing applications.
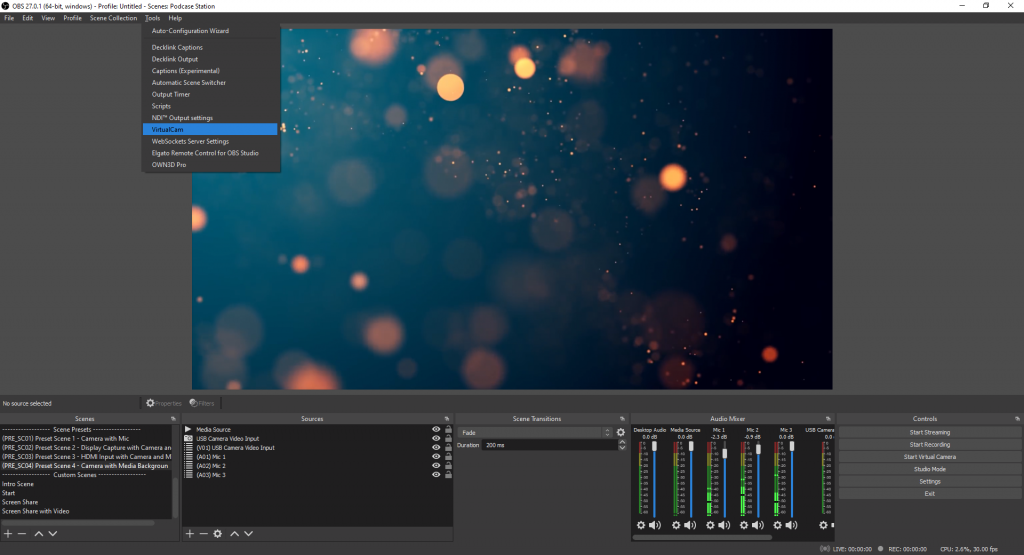
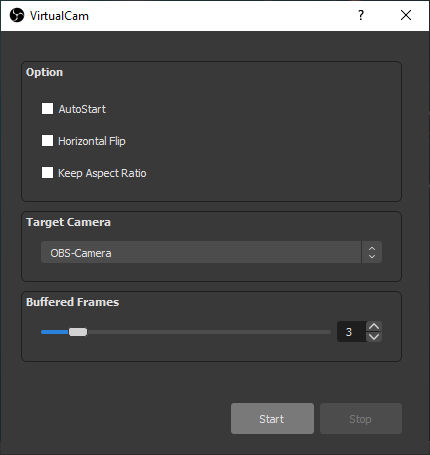
Step 1: Start OBS VirtualCam
Launch the menu of the OBS VirtualCam via the Tools dropdown menu. Press “Start” to enable the virtual cam.
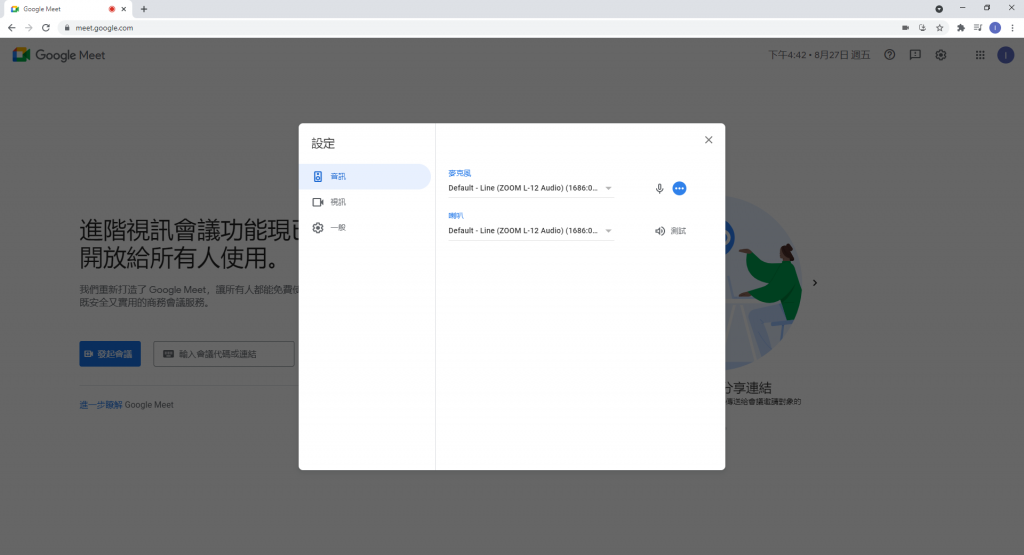
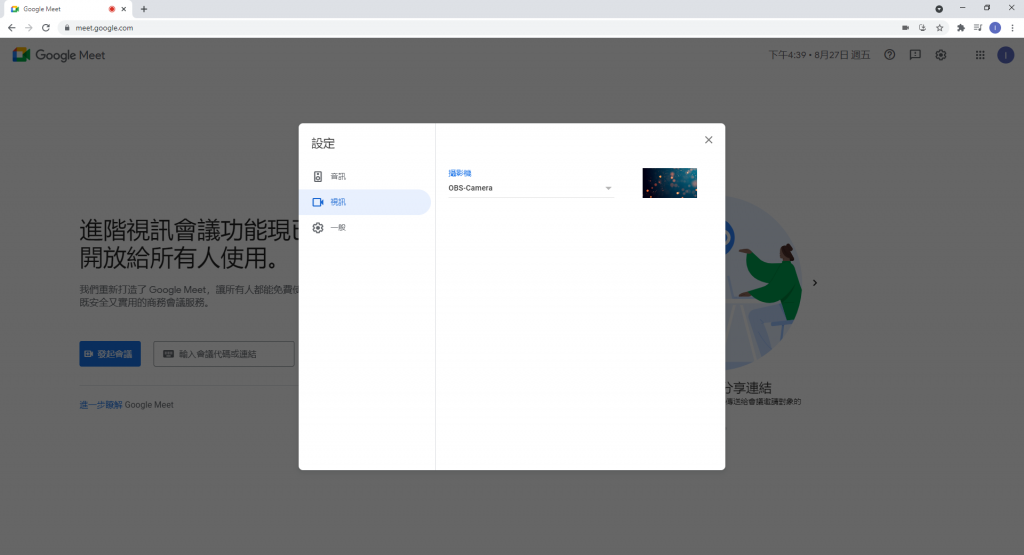
Step 2: Configure the Video Input on the Conferencing Application
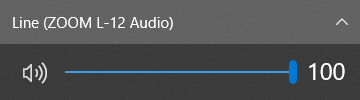
On your designated conferencing application, select “Line (ZOOM L-12 Audio” as the audio input and “OBS-Camera” as the video input. For demo purpose, the following screenshot shows how to perform such change in Google Meet. After that you are good to go!