Abrasive waterjet cutting machine

Tutorial designed by: Jacky Ip, Innovation Wing tutor

Usage arrangement

TRAINED
MEMBERS

Access
permission

BOOKING
REQUIRED

Requirement
before usage

WITH
TECHNICIANS

Buddy system
requirement
  1. [For trained members] Only members who go through the training tutorial on this page can use the abrasive waterjet cutting machine.
  2. [Booking required] Before using our abrasive waterjet cutting machine, please fill the abrasive waterjet cutting job registration form. The technical team will receive your reservation and contact you through email with an allocated timeslot for your waterjet cutting job. Please come to meet our technical expert in the timeslot assigned. 
    If you do not have a project supervisor, please contact our staff (Director of Innovation Wing/ technical staff/ tutor staff), we are very happy to help you.
  3. [Operate the machine with technicians] Please operate the abrasive waterjet cutting machine with the presence of our technicians, they are experienced operators and are very happy to help.
Usage procedure for trained members
  • Step 1. Booking required

    Before using our abrasive waterjet cutting machine, please fill in the job registration form to make a booking reservation.

    The technical team will receive your reservation and contact you through email with an allocated timeslot for your waterjet cutting job.

    Please come to meet our technical expert in the timeslot assigned.

  • Step 2. Create a drawing file (.dxf file)

    Use any object modeling software (e.g., ProtoMAX LAYOUT/CorelDRAW/ Solidworks / Autocad) or download a 2D model online for cutting. Prepare the object model in  .dxf file format.

  • Step 3. Turn on and initialize the abrasive waterjet cutting machine

    Please work with our on-duty technicians/tutors to turn on the abrasive waterjet cutting machine, it will take about 15 mins to fill up the water tank of the machine before it can be used.

  • Step 4. Use the Intelli-MAX LAYOUT and MAKE tools

    Intelli-MAX LAYOUT and MAKE are the software tools used in making a part.  See https://knowledgebase.omax.com for detailed information on making a part.

  • Step 5. Start cutting and monitor the cutting process.

    Never leave equipment unattended while operating. The user is required to monitor the entire cutting process and has the responsibility to report any accident or abnormal situation.

  • Step 6. Switch off the machine and clean up the workspace for the next user

    Please switch off the machine after use.

    Please clean up the workspace for the next user.

    Place the used material board (if any) into the "Free to use" box.

ProtoMAX Booking system

BOOKING REQUIRED

Booking (ProtoMAX abrasive waterjet cutting machine)

  • Each booking slot spans 2 hours.
  • Please make the booking at least 1 hour in advance (available timeslots in the upcoming 2 weeks are listed).
  • Note: Innovation Wing is closed on University / public holidays. Please double-check and do not make bookings on those dates.  
  • Please also check the latest announcement about the opening hours of the Innovation Wing. The machine shop is closed when Innovation Wing is closed. Thank you.
Abrasive waterjet cutting registration form

Before using our abrasive waterjet cutting machine, please fill the abrasive waterjet cutting job registration form. 

The technical team will receive your reservation and contact you through email with an allocated timeslot for your waterjet cutting job.

Please confirm the booking and meet our technical expert in the timeslot assigned. 

User manual of ProtoMAX

Please click the following button to access the official user manual for the ProtoMAX abrasive waterjet cutting machine

Safety rules

General safety recap from the official user manual

Safety instructions must be followed when operating or maintaining the equipment. If ignored, a physical injury may result, or damage may occur to the equipment. Always observe applicable safety precautions when working with this equipment.

Please refer to here for the complete safety guide for the ProtoMAX abrasive waterjet cutting machine. Below shows some important recap of the safety rules of the machine:

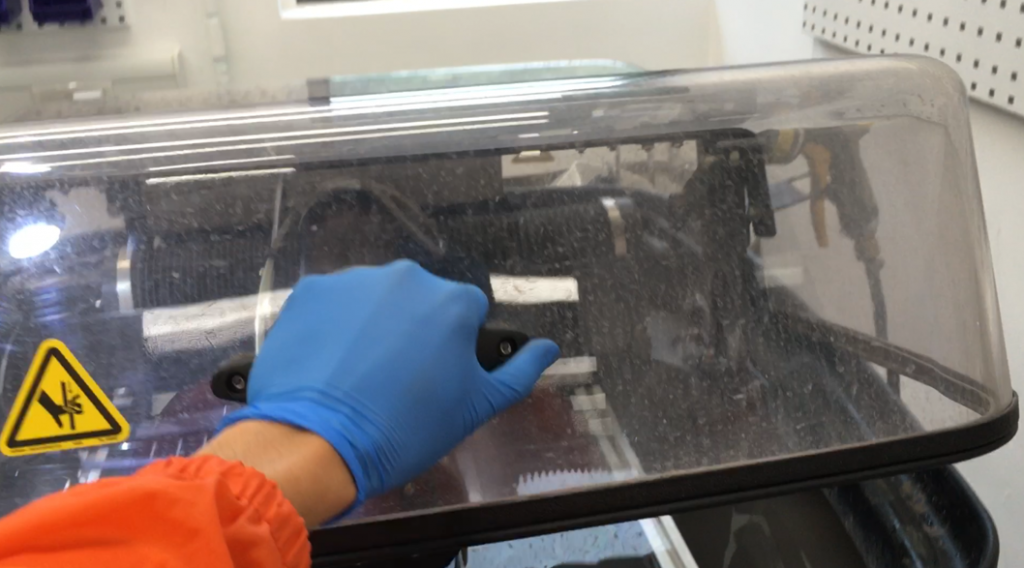
Do Not Operate With Guard Removed
Do not operate machine with guards or panels removed.

WARNING! Electrical Shock Hazard
This symbol indicates the presence of life-threatening voltages. Never access areas labeled as such without first taking appropriate safety precautions: locking out power, verifying no voltage is present on circuits prior to maintenance activities, etc.


Watch Hands and Fingers
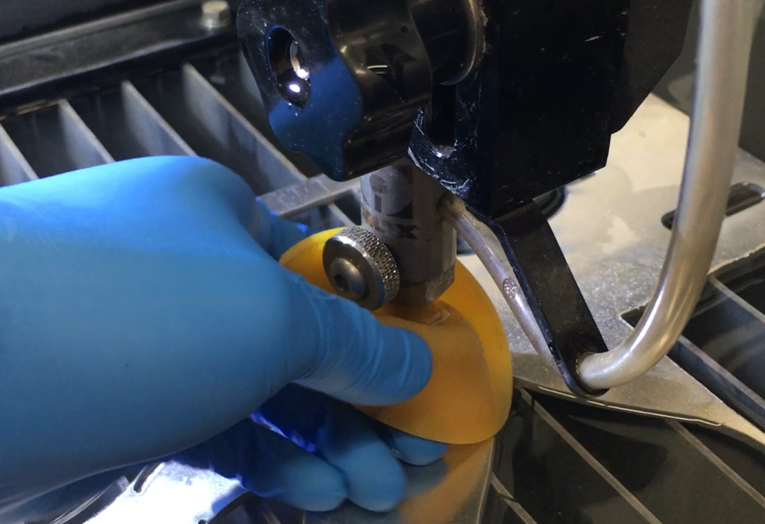
Keep the motor guards in place at all times during operation. Keep hands way from belts and pulleys when performing maintenance.

Caution: Pinch Point Hazard
When closing the lid, keep your hands clear from the edge of the tank.

Keep Fingers and Hands Away From Moving Parts!
Fingers and hands can be pinched or cut by a moving parts hazard whenever the table is powered. Keep hands and fingers out of the path of moving parts. Never reach into moving machinery.

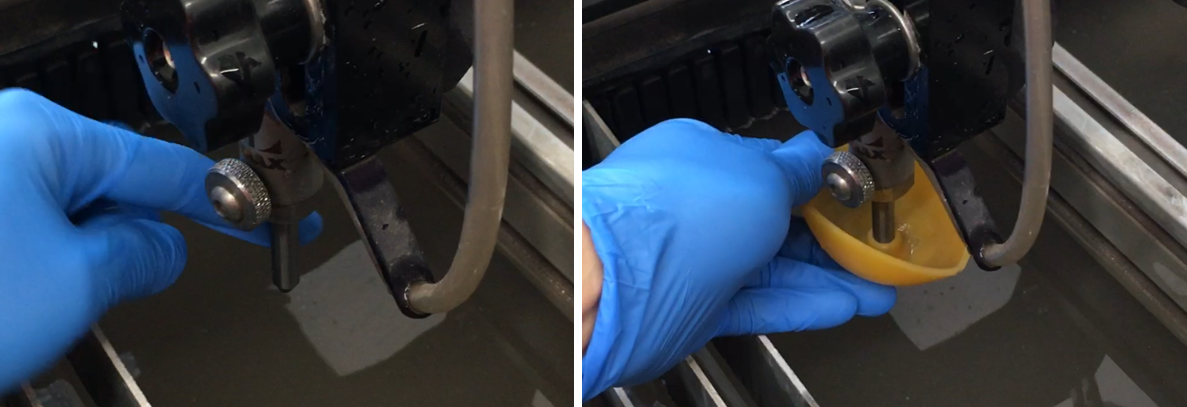
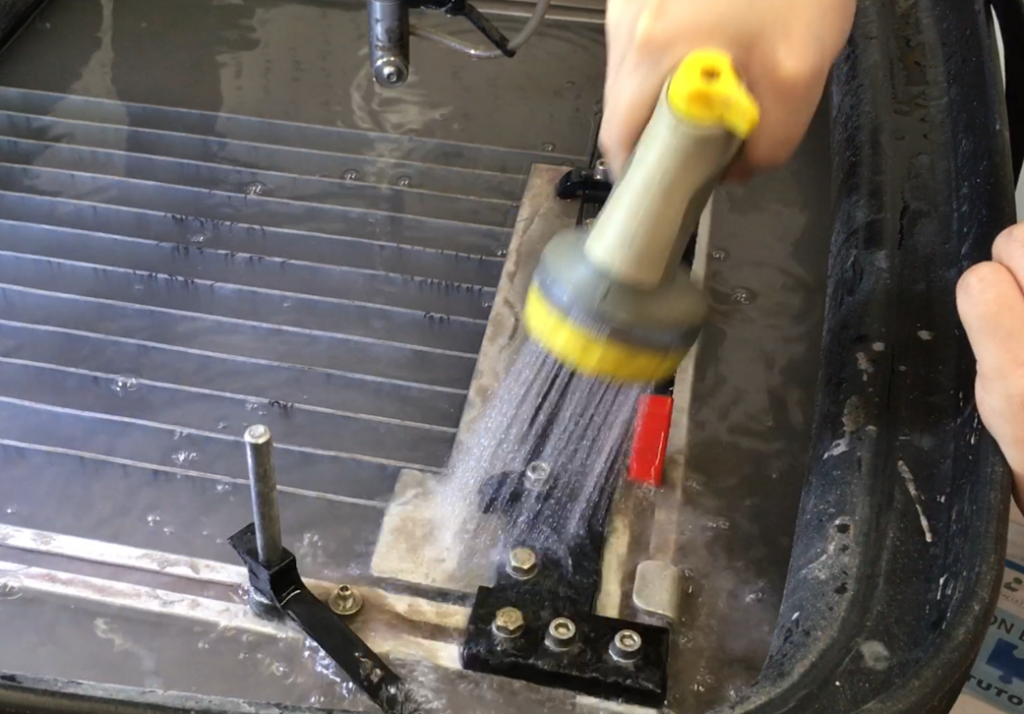
Keep Hands Away From Jet
Never place your hands in the vicinity of the nozzle while cutting. Seek immediate medical attention in the event of a waterjet injury. Injuries caused by high-pressure abrasive waterjets are serious. Do not delay!

Flying Debris/Loud Noise
Eye and ear protection are required during operation. Removing the abrasive feed tube from the nozzle while under pressure will blow abrasive particles into the air, getting into eyes and could contaminate tools and machines.


Do Not Spray
Do not spray water on or near the machine electrical enclosure.


Wear Eye Protection
Always wear approved safety glasses whenever cutting. Regular glasses do not provide sufficient eye protection! The garnet abrasive is not a chemical irritant, but if not quickly washed out, it can injure an eye just as any sand would. In addition, tank water could contain particles from the material or chemical irritants. Have an eyewash station located near the work area in the event abrasive spray splashes into your eyes.

Wear Ear Protection
Always wear hearing protection while in the vicinity of the equipment. When cutting above water, noise levels can exceed 70 dBA.
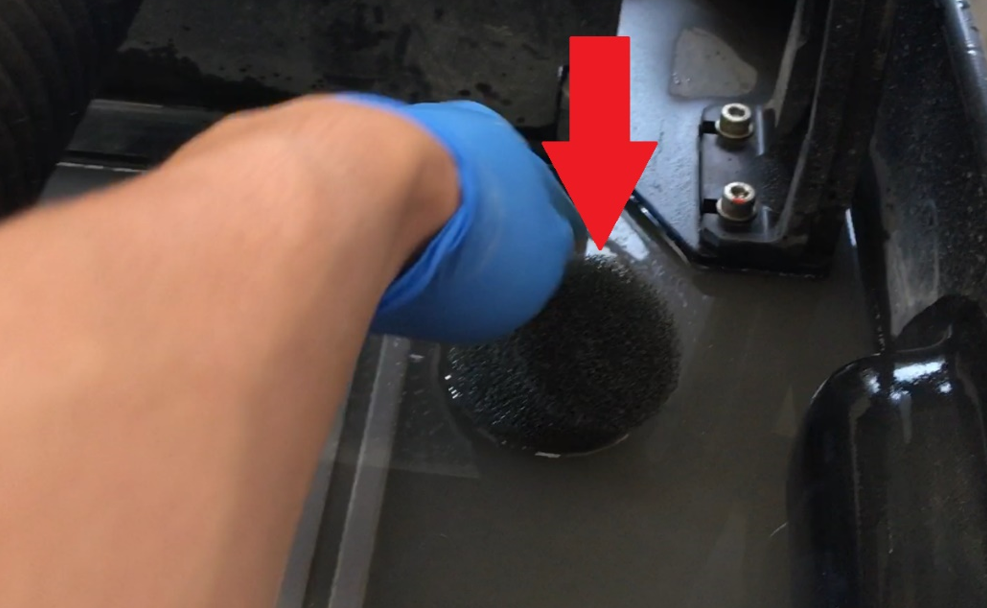
Wear Gloves
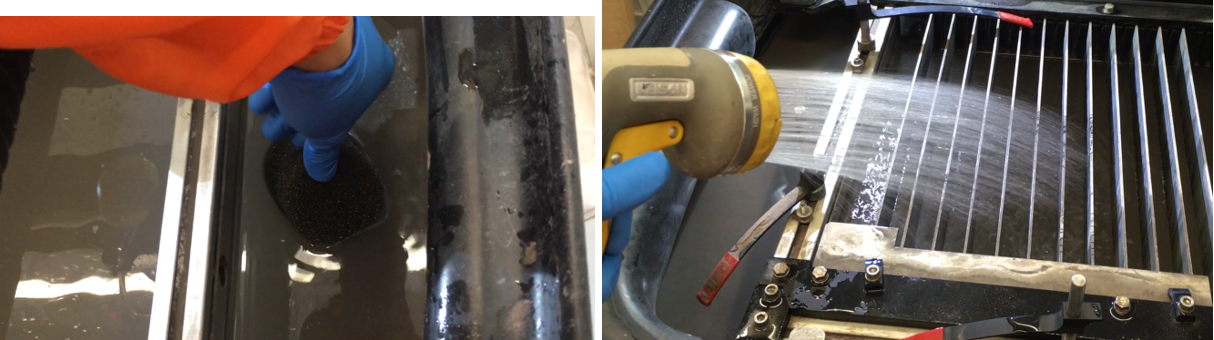
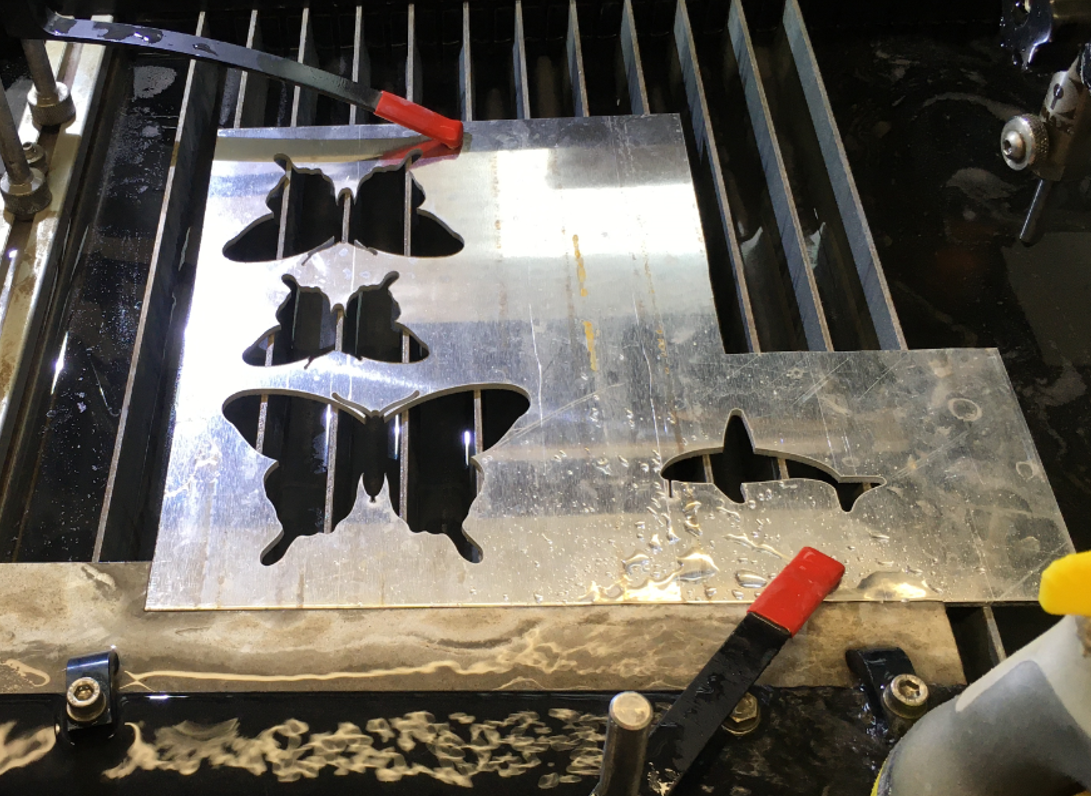
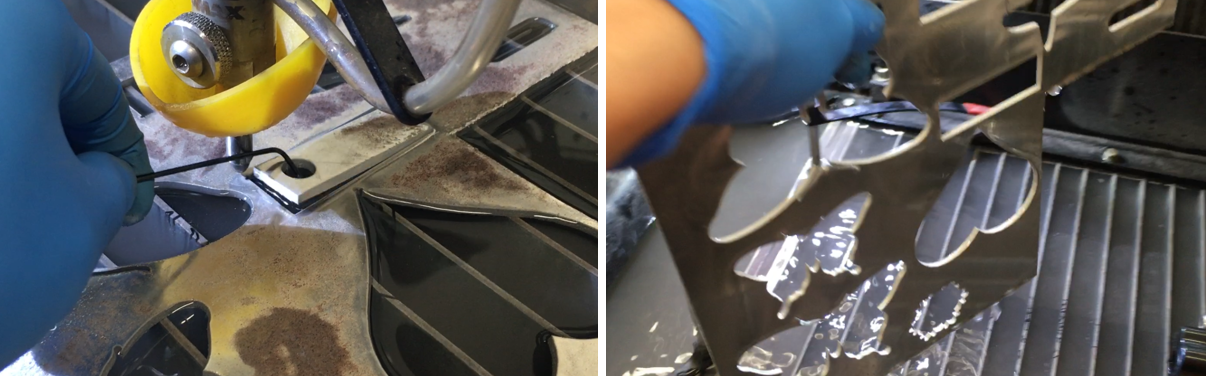
Bacteria in the tank water can build up. A minor break in the skin can introduce harmful bacteria into a wound. Always wear protective gloves if you have cuts or open wounds on your hands. When setting up material for cutting, wear gloves that provide protection against sharp metal edges.
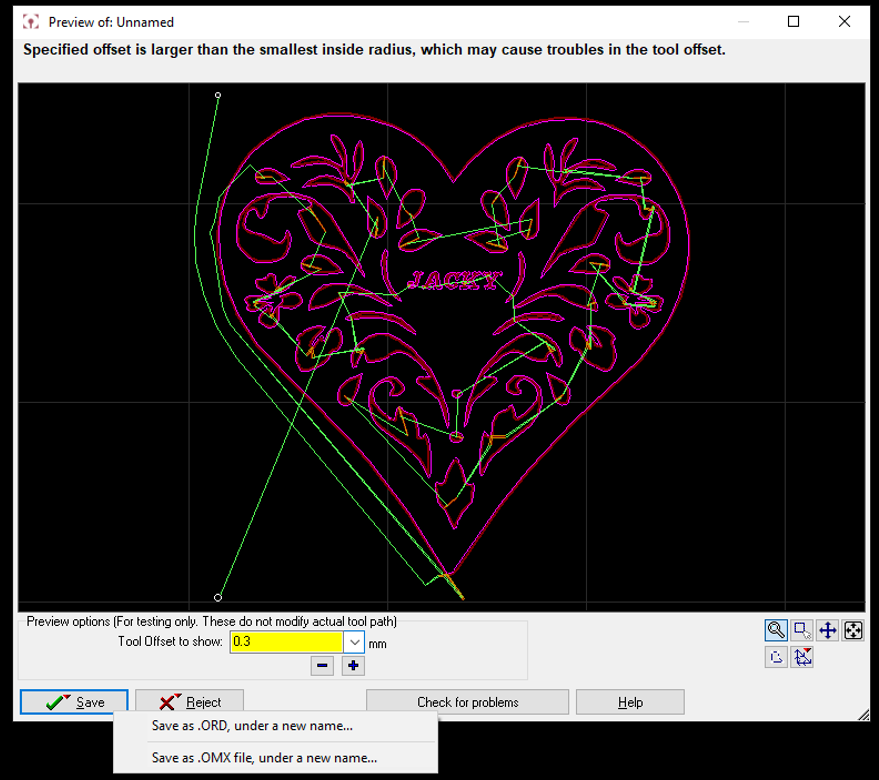
Read Manual
Read the equipment operator’s guide for specific operator instructions and additional safety requirements. Do not attempt to operate this machine until you have read and understood all safety precautions and operating instructions.


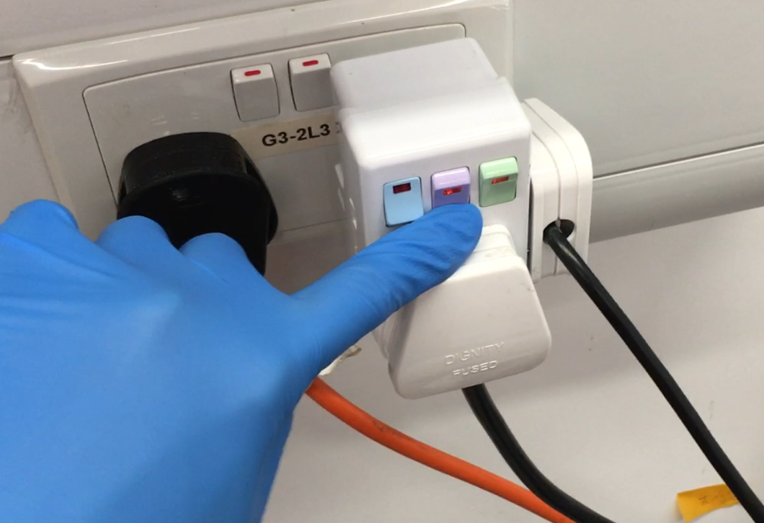
MANDATORY ACTION! Disconnect Power
To isolate the machine from its electrical supply, always unplug the main AC supply power cord from its electrical supply outlet.


Do Not Adjust
Never make adjustments to equipment prior to reading the manual. Special instructions may be required.

Operational guideline
(to be completed by tutor/technician/training member)

This operational guideline is a walkthrough of the general procedure in using the ProtoMAX waterjet cutting machine in Innovation Wing. You will act as a member and go through this process once.

  • Step 1. Create a drawing file (.dxf file)
  • Step 2. Booking required
  • Step 3. Turn on the controller laptop, then turn on and initialize the abrasive waterjet cutting machine
  • Step 4. Use the Intelli-MAX ProtoMAX MAKE tools
  • Step 5. Start cutting and monitor the cutting process.
  • Step 6. Switch off the machine and clean up the workspace for the next user.

After the tutorial, you will create an aluminum badge and will understand some basic operation principle of the ProtoMAX waterjet cutting machine.

Essential personal protective equipment:

  • Safety goggles (MUST) – prevent splash and debris from entering your eyes
  • Gloves (MUST) – prevent contaminated water from contacting your hands
  • Mask/respirator (optional) – prevent contaminated water from splashing onto your face
  • Hearing protection (optional) – cutting process may generate loud noise

Step 1. Create an object model (.dxf file)

The dxf file can be prepared using the waterjet cutter’s proprietary software called “ProtoMAX LAYOUT”, or on a 3rd party CAD software, such as AutoCAD. ProtoMAX LAYOUT is installed on the laptop inside the waterjet cutting machine room.

In this tutorial, ProtoMAX LAYOUT is demonstrated.

  • 1.1. Turn on the laptop and launch ProtoMAX LAYOUT.
  • 1.2. Go to File -> Configure Preferences
  • 1.3. Select “mm” under Units.

Next, we will learn how to import a picture and trace the outline to create a cutting path.

  • 1.4. Go to Image Tracing -> OMAX Intelli-TRACE(tm) Automatic Tracing…
  • 1.5. Click “Next”.
  • 1.6. Click “Click here to choose an image to trace”.


Below are some example images you can refer to.

  • 1.7. Browse for your picture. Ideally, the picture should be of high contrast, high resolution with clear boundaries for edge detection. Click “Next”.
  • 1.8. Click “Next”.

Example of a “Bad” image.

  • Poor contrast
  • Disconnected geometry
  • Minimum line thickness too small


Example of a “Good” image.

  • High contrast
  • Connected geometry
  • Adequate minimum line thickness
  • 1.9. Here you can adjust the image for better tracing action. Click “Next” when it is satisfactory.
  • 1.10. Select “Trace Outlines”.
  • 1.11. Here you can see the preview of the traces and change the tracing settings. Leave it as “Generic (Default)”. Click “Finish”.
  • 1.12. Hide the image for better visualisation of the traces by de-selecting Image Tracing -> Show Image.
  • 1.13. Right click the “Select” icon on the left panel. Then select “Connected”. Click the traces you want to select. The selected traces will be highlighted in yellow.
  • 1.14. Press Del key on keyboard to delete the selected traces.
  • 1.15. Right click the “Text” icon on the left panel. Then select “Tool Path Text (Default)”. Click some empty space on the blackboard.
  • 1.16. Enter the text you want. Select your preferred font and set the scale to 0.5.
  • 1.17. With the text highlighted in yellow, click the “Move” icon on the left panel. Click highlighted text and move it to your desired position.
  • Move the text to the space in the middle.
  • 1.18. Right click the “Select” icon on the left panel. Then select “All”.
  • 1.19. Click the “Size” icon on the left panel. Enter “60” into “Width”.
  • 1.20. Save the drawing as dxf file by clicking File -> Save As.
  • 1.21. Click the “AutoPath” icon on the left panel.
  • 1.22. Click the “Post” icon on the right panel.
  • 1.23. Click the starting point. Starting point must lead to the traces inside.
  • 1.24. Enter “0.3” into the “Tool offset to show”. Then right click “Save” -> “Save as .OMX file, under a new name…”. Save the path file to your preferred destination.

Step 2. Turn on and initialize the abrasive waterjet cutting machine

WITH TECHNICIANS

Buddy system requirement

ABOUT THE OPERATION OF THE ABRASIVE WATERJET CUTTING MACHINE

  1. The following steps should be done with the presence of an Innovation Wing technician.
  2. Even a member is a trained user of the abrasive waterjet cutting machine, he/she has to operate the machine with the presence of an Innovation Wing technician.
  • 3.0. Turn on the control laptop.
  • 3.1. Rotate the power switch on the side of the waterjet cutting machine to “I” position.
  • 3.2. Switch on the booster pump (middle switch) and  the submerged pump (right switch). Switch is located on the wall behind.
  • 3.3. Lift up the sponge head above the cutting platform. Then fill the tank with the water hose until the water level is above the workpiece surface.
  • 3.4. Fill the abrasive bucket if the level is too low. The amount of abrasive required depends on the cutting job. Consult the on-duty tutor/technician for details.

Step 4. Use the Intelli-MAX ProtoMAX MAKE tools

  • 4.1. Launch ProtoMAX MAKE. Home the machine by clicking “Click here to home machine.”
  • 4.2. Move the nozzle to an appropriate starting position by pressing “Jog +/-X/Y”. Be careful not to hit any obstacles. After that, press both the top and bottom “000 Zero” buttons to set machine zero position.
  • 4.3. Install the nozzle and the splash shield onto the move head. Be careful not to drop the nozzle or the splash shield into the water tank.
  • 4.4. Put the workpiece on the cutting platform and secure it with clamps (red in picture).
  • 4.5. Flip the splash shield to the correct configuration.
  • 4.6. Close the lid.

Step 5. Start cutting and monitor the cutting process

  • 5.1. Click “Begin machining”. Wait for the cutting job to finish.
  • 5.2. When the cutting job finish, open the lid and remove the product and the workpiece carefully. Be careful do not drop the product into the water tank.

Step 6. Switch off the machine and clean up the workspace for the next user

  • 6.1. Wash off the abrasive/debris deposited on the cutting platform using the water hose.
  • 6.2. Lower the sponge head to empty the water tank.
  • 6.3. Remove the nozzle and the splash shield. Store them in the designated area.
  • 6.4. Close the lid and switch of the water cutting machine.
  • 6.5. Switch off the booster pump (middle switch) and the submerged pump (right switch).
  • 6.5. Switch off the laptop.

6.6. Clean the workstation and mop the floor if any water splashed out of the machine during operation.

Please put the used materials (if any) in the “free to use” box for the other users. Thank you so much 🙂

Acknowledgement
  • This tutorial is prepared by our tutor Jacky Ip with the help of Natalie Chan in the Innovation Tutorship Training Scheme on April 2021.
  • This tutorial is edited by CS Seto (technical manager of Innovation Wing), Edison (technical staff of Innovation Wing) in May 2021.
  • Materials from this tutorial include a recap of the official user manual from the ProtoMAX abrasive waterjet machine. With some additional materials added by our staff.
For Inquiries, Please Contact

Please contact

    • Natalie Chan (natcychan[at]hku.hk), the teaching assistant of the Tam Wing Fan Innovation Wing, or
    • Ryan chan (ryancck[at]hku.hk), the senior technical assistant of the Tam Wing Fan Innovation Wing